Python PyQt custom widget with keyboard shortcuts
Write a Python program that creates a custom widget in PyQt and implements a custom keyboard shortcuts by overriding the key press method.
From doc.qt.io:
QApplication Class: The QApplication class manages the GUI application's control flow and main settings.
QMainWindow Class: The QMainWindow class provides a main application window.
QWidget Class: The QWidget class is the base class of all user interface objects.
QLabel Class: The QLabel widget provides a text or image display.
QShortcut Class: The QShortcut class is used to create keyboard shortcuts.
QKeySequence Class: The QKeySequence class encapsulates a key sequence as used by shortcuts.
Qt module: PyQt5 is a set of Python bindings for the Qt application framework. It allows us to use Qt, a popular C++ framework, to create graphical user interfaces (GUIs) in Python.
Sample Solution:
Python Code:
import sys
from PyQt5.QtWidgets import QApplication, QMainWindow, QWidget, QLabel, QShortcut
from PyQt5.QtGui import QKeySequence
from PyQt5.QtCore import Qt
class CustomWidget(QWidget):
def __init__(self):
super().__init__()
self.setGeometry(100, 100, 400, 200)
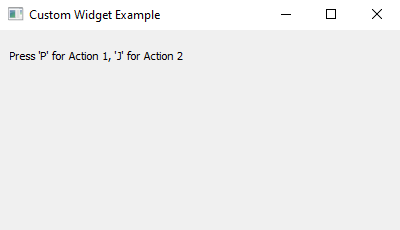
self.setWindowTitle("Custom Widget with Keyboard Shortcuts")
self.label = QLabel("Press 'P' for Action 1, 'J' for Action 2", self)
self.label.setGeometry(10, 10, 300, 30)
# Create shortcuts for 'P' and 'J' keys
self.shortcut_P = QShortcut(QKeySequence(Qt.Key_P), self)
self.shortcut_J = QShortcut(QKeySequence(Qt.Key_J), self)
# Connect shortcuts to actions
self.shortcut_P.activated.connect(self.action_1)
self.shortcut_J.activated.connect(self.action_2)
def action_1(self):
self.label.setText("Action 1 triggered!")
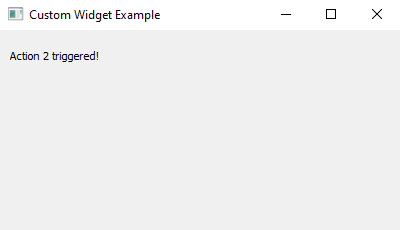
def action_2(self):
self.label.setText("Action 2 triggered!")
class CustomWidgetApp(QMainWindow):
def __init__(self):
super().__init__()
self.setWindowTitle("Custom Widget Example")
self.setGeometry(100, 100, 400, 200)
custom_widget = CustomWidget()
self.setCentralWidget(custom_widget)
def main():
app = QApplication(sys.argv)
window = CustomWidgetApp()
window.show()
sys.exit(app.exec_())
if __name__ == "__main__":
main()
Explanation:
In the exercise above -
- Import the necessary PyQt5 modules.
- Create a custom widget class called "CustomWidget" by subclassing the standard "QWidget".
- Inside the "CustomWidget" class, we override the "keyPressEvent" method. This method is called when a key is pressed while the widget has focus.
- Within the overridden keyPressEvent method, we check which key was pressed using event.key() and respond accordingly. Here we check for 'P' or 'p' to trigger Action 1 and 'J' or 'j' to trigger Action 2. When an action is triggered, we update a "QLabel" to display the corresponding message.
- Finally create an instance of the "CustomWidget" class in the "CustomWidgetApp" class, which represents our main application window.
Output:
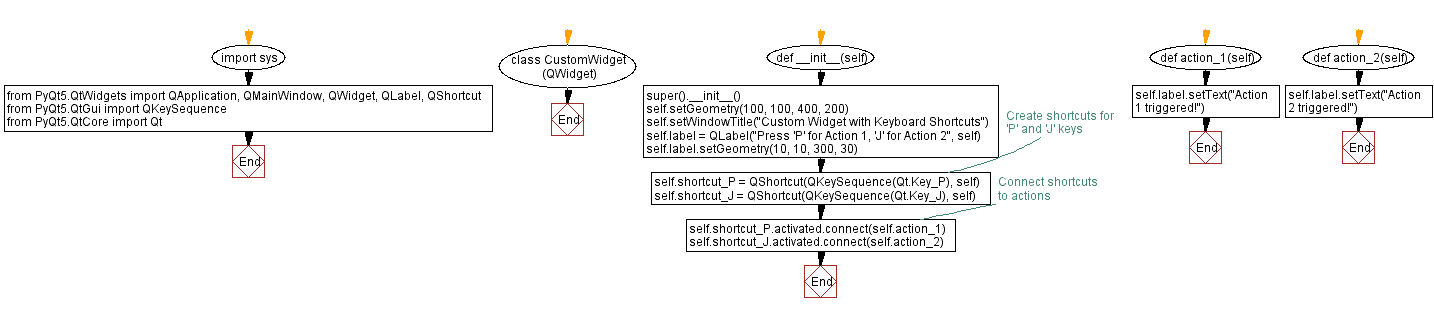
Flowchart:

Python Code Editor:
Previous: Python PyQt custom button example.
Next: Python PyQt drag and drop labels example.
What is the difficulty level of this exercise?
Test your Programming skills with w3resource's quiz.