Creating custom tooltips in Python with Tkinter
Write a Python program that implements custom tooltips for widgets like buttons or labels that display additional information when hovered over using Tkinter.
Sample Solution:
Python Code:
import tkinter as tk

class CustomTooltip:
    def __init__(self, widget, text):
        self.widget = widget
        self.text = text
        self.tooltip_visible = False

        # Bind events to show/hide the tooltip
        widget.bind("<Enter>", self.show_tooltip)
        widget.bind("<Leave>", self.hide_tooltip)

    def show_tooltip(self, event):
        if not self.tooltip_visible:
            x, y, _, _ = self.widget.bbox("insert")
            x += self.widget.winfo_rootx() + 25
            y += self.widget.winfo_rooty() + 25
            self.tooltip_label = tk.Label(text=self.text, background="lightyellow", relief="solid", borderwidth=1)
            self.tooltip_label.place(x=x, y=y)
            self.tooltip_visible = True

    def hide_tooltip(self, event):
        if self.tooltip_visible:
            self.tooltip_label.place_forget()
            self.tooltip_visible = False

if __name__ == "__main__":
    root = tk.Tk()
    root.title("Custom Tooltip Example")
    button = tk.Button(root, text="Hover Me")
    button.pack(padx=20, pady=20)
    tooltip = CustomTooltip(button, "This is a custom tooltip")
    root.mainloop()
Explanation:
In the exercise above -
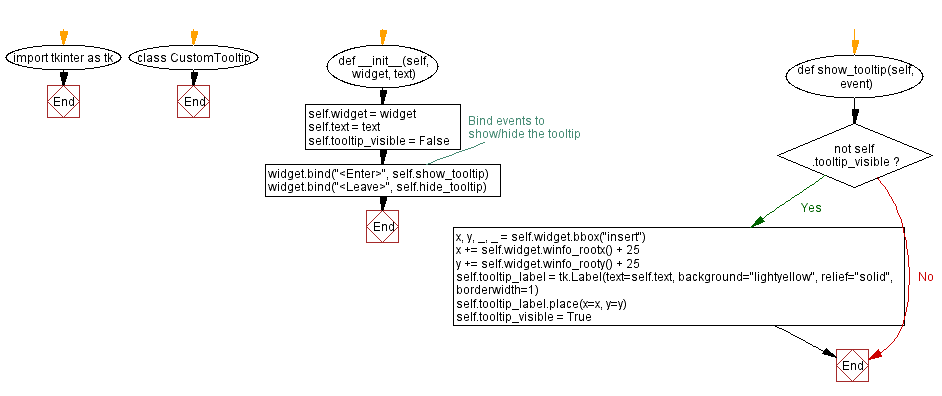
- Define a "CustomTooltip" class to manage and display tooltips for a given widget.
- The constructor init takes two arguments: the 'widget' for which the tooltip is intended (widget) and the 'text' to be displayed in the tooltip (text).
- With the "show_tooltip()" method, we calculate the position (x, y) of the tooltip relative to the widget, and then create a label (tooltip_label) to display the tooltip text with a light yellow background, solid relief, and a border width of 1. This label is placed at the calculated position, making it visible.
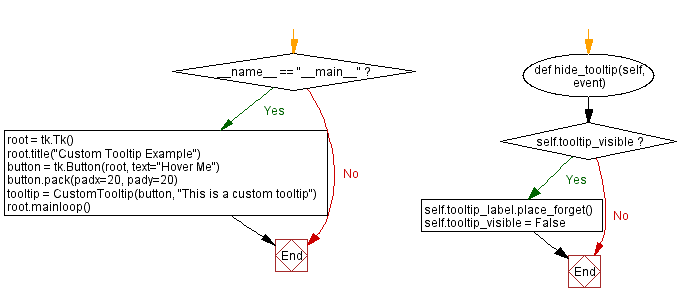
- The "hide_tooltip()" method hides the tooltip label using the place_forget method.
- Create a main Tkinter window (root) and a button widget (button) with the text "Hover Me."
- A CustomTooltip instance is created, assigning the tooltip text to the button and associating it with the tooltip.
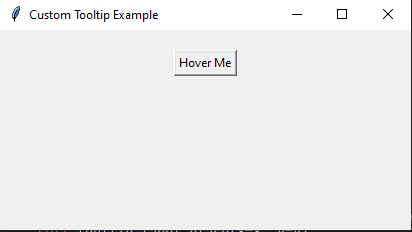
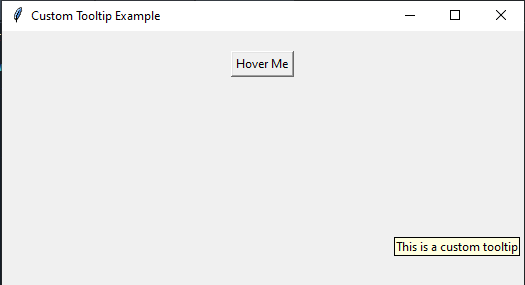
- Finally, start the Tkinter main loop with "root.mainloop()" and when you hover over the button, a custom tooltip appears with the specified text.
Output:
Flowchart:
Go to:
Previous: Creating themed labels in Python with Tkinter.
Next: Creating a custom color picker in Python with Tkinter.
Python Code Editor:
What is the difficulty level of this exercise?
Test your Programming skills with w3resource's quiz.