Laravel (5.7) Email Verification Tutorial Example
Laravel (5.7) Email Verification Tutorial with Example
First, install the Laravel 5.7 using the following command.
Install Laravel 5.7 and configure the database.
composer create-project laravel/laravel emailVerify --prefer-dist
or
laravel new emailVerify
Go inside the folder.
cd emailVerify
Fire up your favorite IDE or Editor.
code
Create the MySQL database and write the credentials inside the .env file.
DB_CONNECTION=mysql
DB_HOST=127.0.0.1
DB_PORT=3306
DB_DATABASE=emailVerify
DB_USERNAME=root
DB_PASSWORD=root
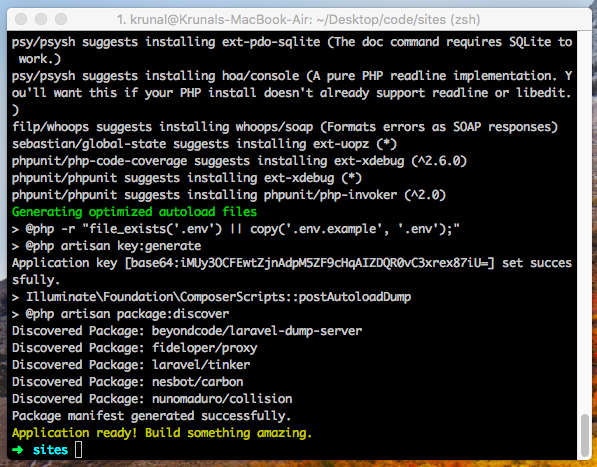
Okay, now migrate the tables by the following command.
php artisan migrate
Now, see the users table and you can there is one more field called email_verified_at.
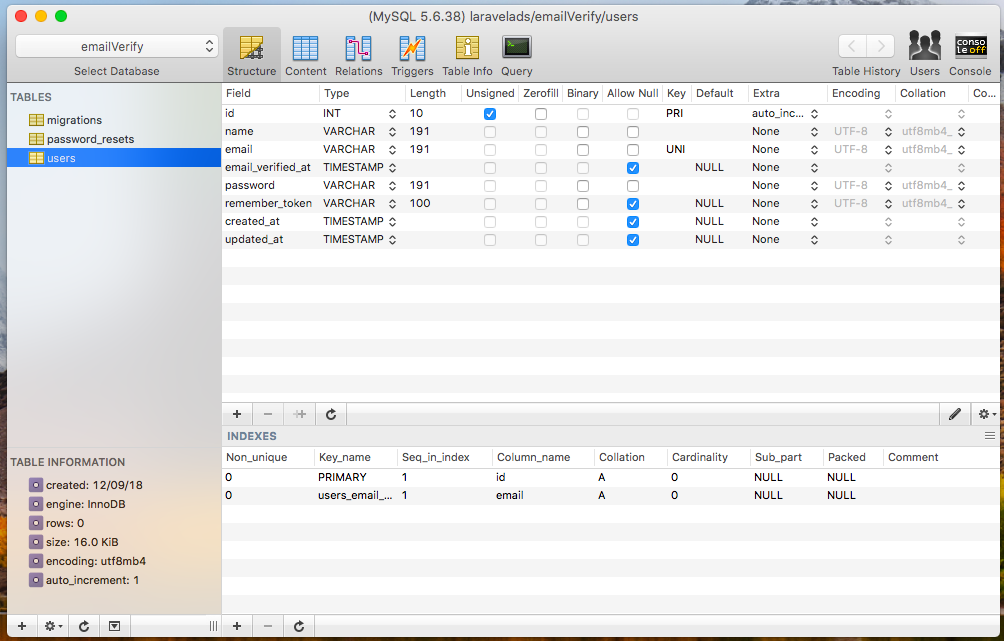
The email_verified_at column is there which is new in Laravel 5.7. So when the user registers and verifies the email, the timestamp will be recorded here. So based on that, we can differentiate that user has confirmed the email or not. For this kind of functionality, We have generally used the datatype boolean, but nowadays people are using a timestamp to accomplish this kind of goal.
Laravel 5.7 Auth Scaffolding
Okay, now go to the terminal and type the following command.
php artisan make:auth
This command has generated one more view called verify.blade.php. It is new in Laravel 5.7 as the verification functionality is implemented in this version.
@extends('layouts.app')
@section('content')
<div class="container">
<div class="row justify-content-center">
<div class="col-md-8">
<div class="card">
<div class="card-header">{{ __('Verify Your Email Address') }}</div>
<div class="card-body">
@if (session('resent'))
<div class="alert alert-success" role="alert">
{{ __('A fresh verification link has been sent to your email address.') }}
</div>
@endif
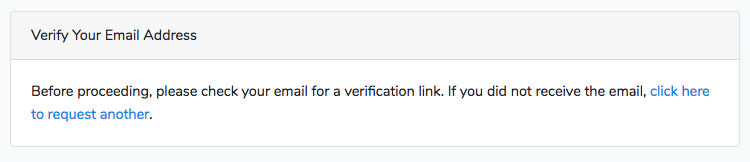
{{ __('Before proceeding, please check your email for a verification link.') }}
{{ __('If you did not receive the email') }}, <a href="{{ route('verification.resend') }}">{{ __('click here to request another') }}</a>.
</div>
</div>
</div>
</div>
</div>
@endsection
Implement mustVerify interface in the User model.
In the User.php model, you can see one more contract added called MustVerifyEmail. To use the email verification process, we need to implement this contract.
<?php

namespace App;

use Illuminate\Notifications\Notifiable;
use Illuminate\Contracts\Auth\MustVerifyEmail;
use Illuminate\Foundation\Auth\User as Authenticatable;

class User extends Authenticatable implements MustVerifyEmail
{
    use Notifiable;

    /**
     * The attributes that are mass assignable.
     *
     * @var array
     */
    protected $fillable = [
        'name', 'email', 'password',
    ];

    /**
     * The attributes that should be hidden for arrays.
     *
     * @var array
     */
    protected $hidden = [
        'password', 'remember_token',
    ];
}
Add Email Route Verification
Go to the routes >> web.php file and add the extra parameter inside Auth::routes().
Auth::routes(['verify' => true]);
This enables the new Verification controller with the route actions. You can see the new controller called VerificationController.php file already comes with Laravel 5.7.
Also, we need to protect the HomeController route, so let us do that via adding middleware.
/** HomeController.php
     * Create a new controller instance.
     *
     * @return void
     */
    public function __construct()
    {
        $this->middleware(['auth', 'verified']);
    }
Setup email configuration
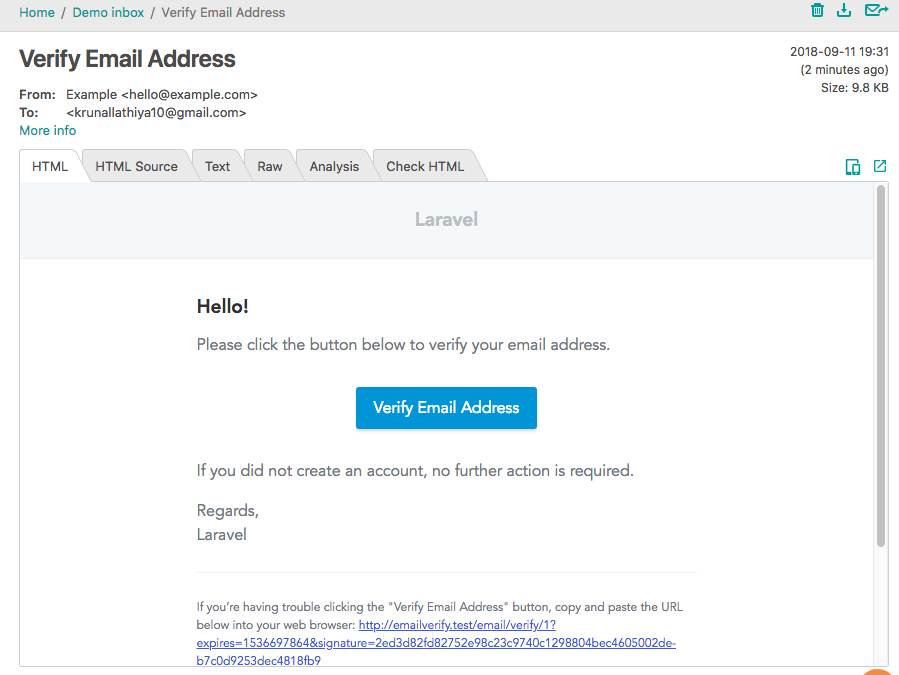
I am using mailtrap for this example. So log in to the https://mailtrap.io/signin.
Go to the demo inbox and copy the credentials and paste to your .env file.
MAIL_DRIVER=smtp
MAIL_HOST=smtp.mailtrap.io
MAIL_PORT=2525
MAIL_USERNAME=null
MAIL_PASSWORD=null
MAIL_ENCRYPTION=null
Test the email verification functionality.
First, go to the browser and go to either http://localhost:8000/register or like me go to the http://emailverify.test/.register
You will see the page like this.
Now go the mailtrap, and you can see that verification mail has arrived.
Also, see the database and analyze the user's table.
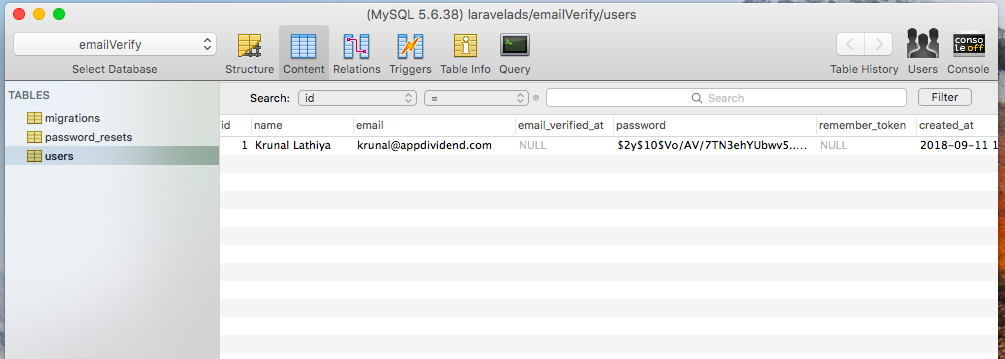
Here, the email_verified_at is null. Now, click the link that is arrived at your email and your email will be verified and you can see here the timestamp will be registered.

Previous:
Laravel (5.7) API Authentication (Passport)
Next:
Laravel (5.7) Password Reset