How to Use Two-Factor Authentication (2FA) with npm
This tutorial looks at the need for two factor authentication and how it can be implemented.
Two-factor authentication feature requires npm version 5.5.1 or greater
Are you who you say you are? Let's double-check.
In order to meet the increasing need for strong digital security, npm introduced two-factor authentication (2FA) or (tfa) in npm version 5.5.1. Two-factor authentication prevents any unauthorized access to your account by confirming your identity using two methods:
- something that you know (like your username and password)
- something that you have (like a phone or tablet)
For instance, when your bank uses 2FA, the first time that you logged in to your online banking system, the bank sent a code to your mobile phone number, then requested that you to enter the code online. This proved that the mobile phone was in your possession, and is linked to your account for authentication. Once that is ascertained, whenever the bank suspects an unusual activity, like a login from a different laptop, the bank will send a temporary code to your phone that you must enter before you can login. This provides you with an extra layer of security because, even if someone gains access to your login credentials, they may not have your device in their possession as well. Even if someone finds your mobile phone, they may be unable to hack your laptop's password.
Two-factor authentication multiplies the protection that your account has, against attacks, and it recommend that you implement this with your npm account.
Preparation
If you enable 2FA with your npm account, you must have an application that can generate a One Time Password, or OTP. For instance, Authy or Google Authenticator, can help you generate one time passwords (OTP's). These products utilize a Time-Based One-Time Password Algorithm (TOTP) so as to create temporary codes. You should install the application on a mobile device or a second laptop that is always available when you work in your npm account. (Note: npm doesn?t use SMS (text-to-phone) as a method for authenticating users.)
Levels of Authentication
Two levels of authentication exist, auth-only and auth-and-writes.
When you enable 2FA in auth-only mode, npm requires an OTP when you:
- log in
- remove 2FA
However, when you enable 2FA in auth-and-writes mode, which is the default, npm requires an OTP when you:
- log in
- change your profile
- create or revoke tokens
- publish packages
- change access
- change your password
- make any other sensitive changes to packages
- remove 2FA
How Do I Enable 2FA?
If you need to set up two-factor authentication, you can do that in two ways:
- the profile setting from the web site.
- the command line interface (CLI).
Both of these approaches are explained in this tutorial. You should choose the method you prefer.
Enabling 2FA from the web
Two-factor authentication is available as a profile setting from the website.
- First, you need to login to npmjs.com.
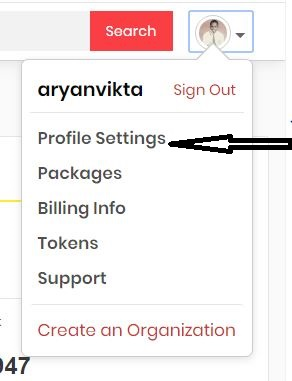
- Then, you click your avatar to see the options menu.

- Click on Profile Settings
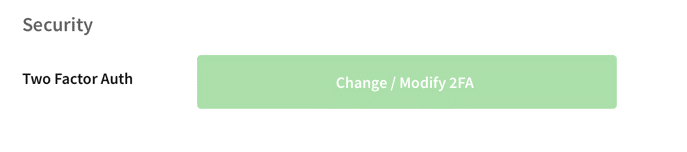
- Scroll down to the Security section of the resulting page:
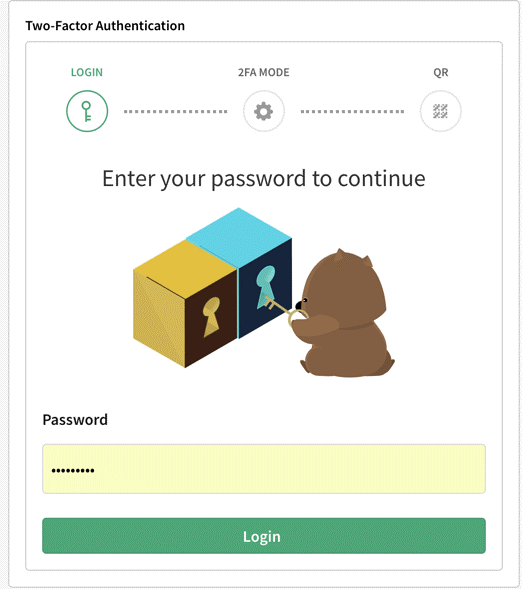
- On the next page, enter your password:
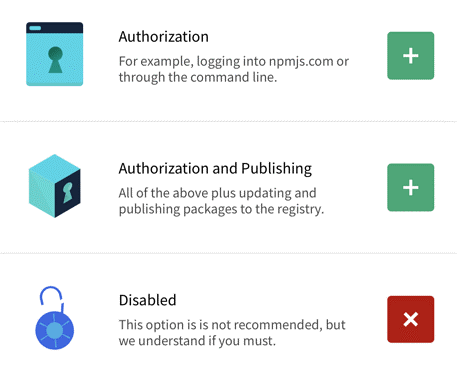
- On the next screen, select the level of 2FA you want.
- Click on the plus sign to enable the level you want. (You can change the level later if you want.) A QR code appears (in the screen shot, the code is masked for security reasons).
- Follow the instructions that is on the screen to scan the QR code, then enter it.
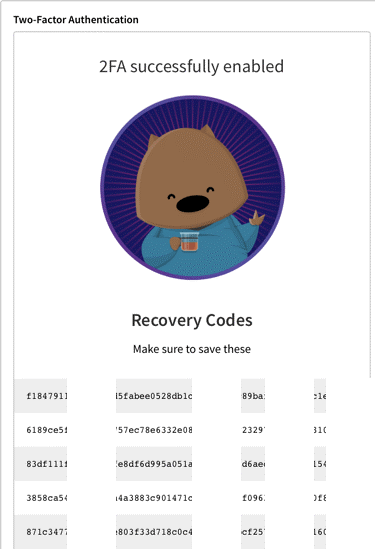
npm will then display recovery codes. The recovery codes are what you will use to log in if you forget or lose your second factor device (for instance, if you do not have your phone). - You should print, screen capture and save these recovery codes in a place that will not be near your second factor device. Your password manager can provide a way to save these safely.
- Once you have saved the recovery codes, you should Go Back to return to your profile.
Note: If you are not sure which setting you want, see the table at the end of this tutorial.
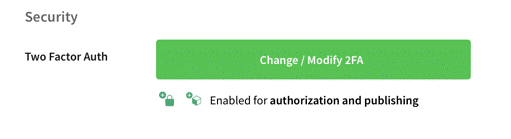
Success! You will see in your Profile page, a message confirming that you set up tfa, with an indicator in the Security section of the page.
Enabling 2FA from the Command Line
You should type the command that meets the level of security you wish to apply (auth-and-writes is the default).
npm profile enable-2fa
    npm profile enable-2fa auth-and-writes
    npm profile enable-2fa auth-only
npm returns this message:
//npm notice profile Enabling two factor authentication for auth-and-writes
or this message:
// npm notice profile Enabling two factor authentication for auth-only
depending on the setting that you provided.
Next, npm displays a QR code:
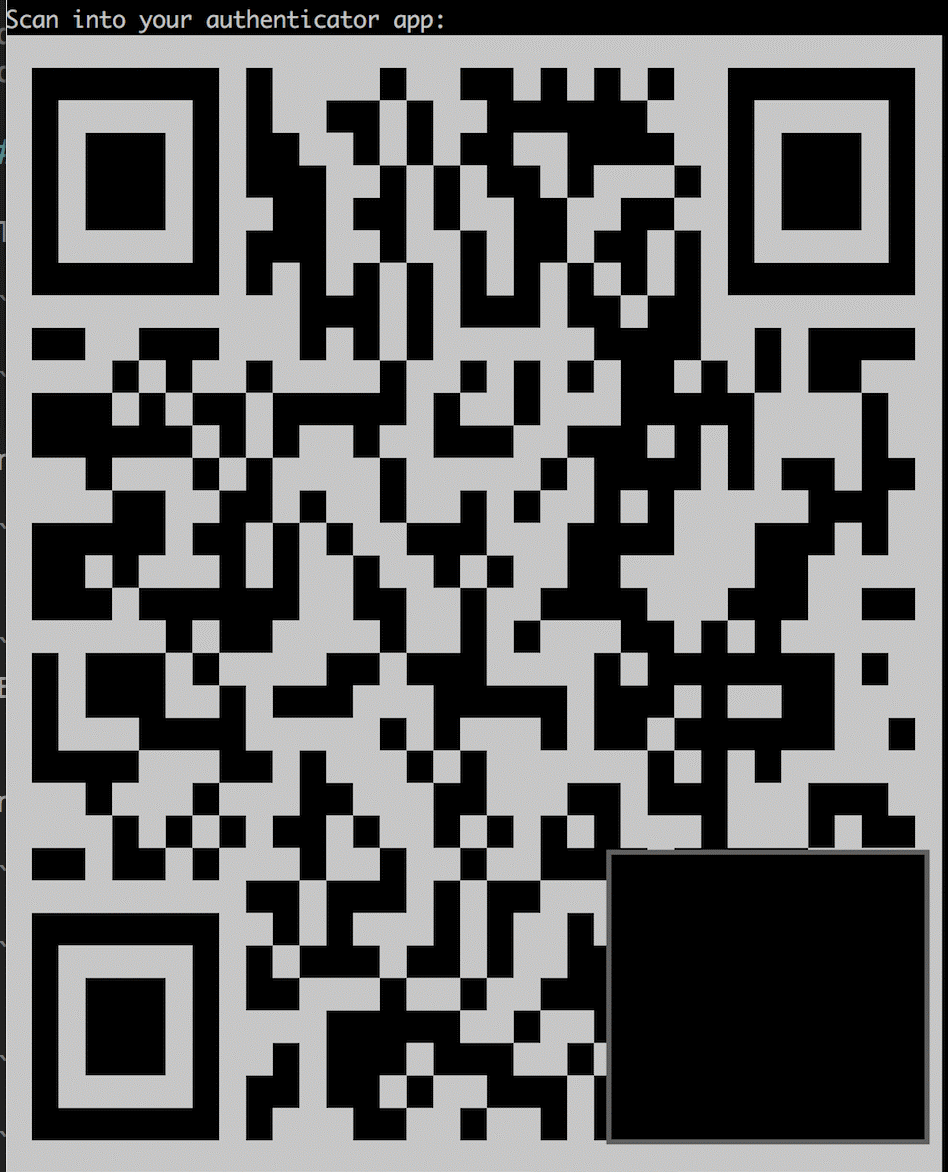
- You should add a new account to your authenticator app.
- And then scan the QR code, or you enter the number displayed just below the QR code.
This configures the authenticator app for future use, this will link authentication to the device that generated the authentication.
With your authenticator app, you should enter an OTP at the prompt shown:
Add an OTP code you got from your authenticator:
Once you have entered the one-time password, npm displays this message:
2FA successfully enabled.
Here are your recovery codes, please print them out.
You need these to recover access to your account
if you lose your authentication device.
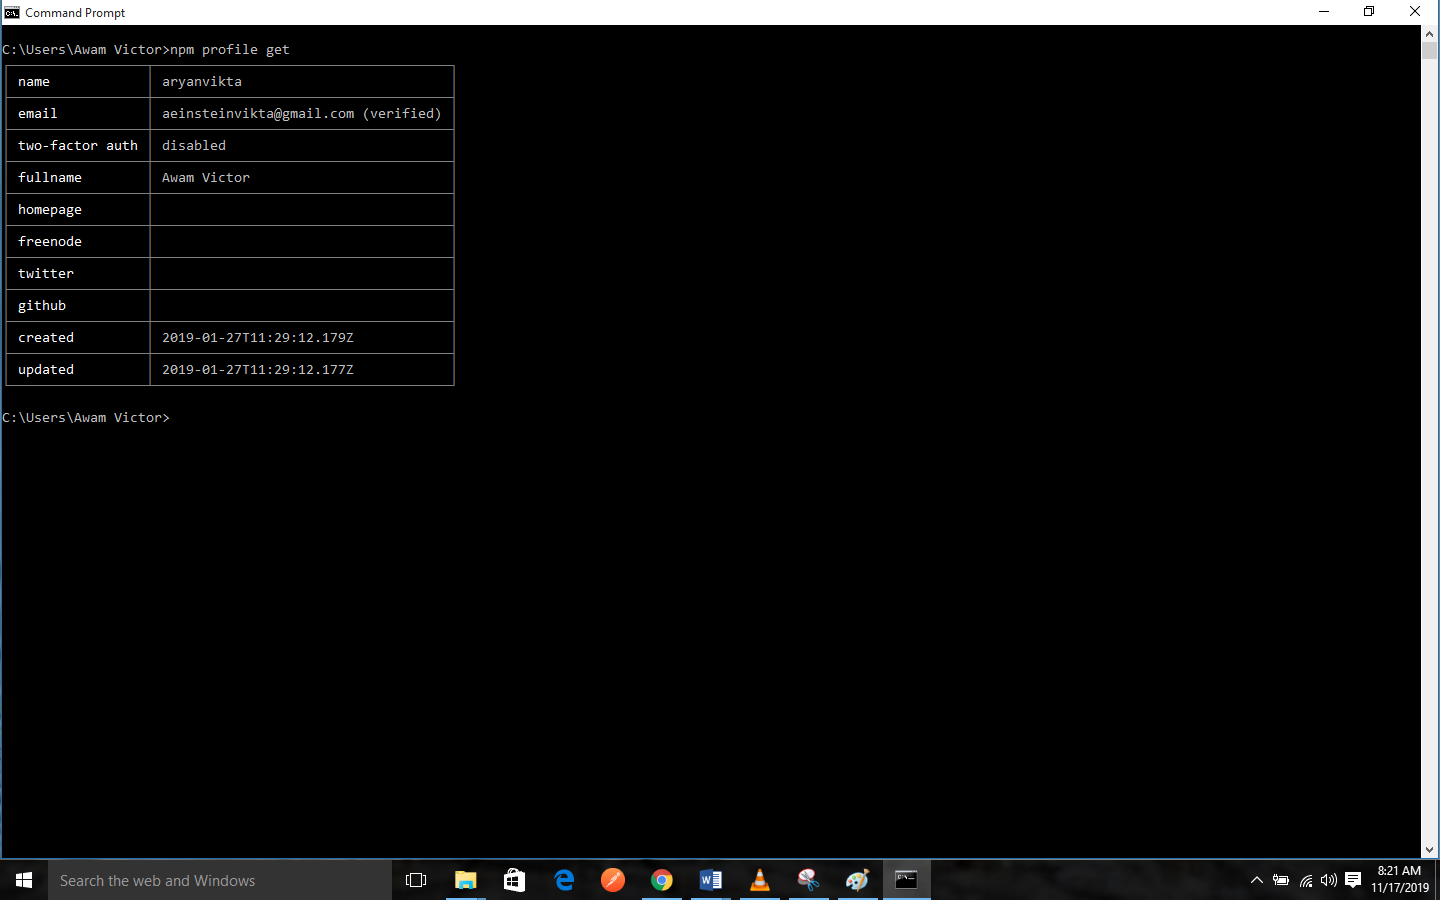
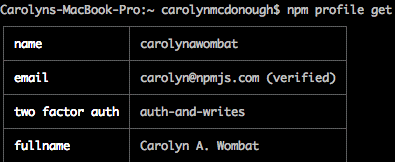
Once you have applied two-factor authentication, you can now use the npm profile get command to confirm that it has been set.
Setting Profile Values from the CLI after Enabling 2FA
Note: Settings that you define using the Command Line Interface (CLI) also applies to the website.
After you have installed 2FA, you need to enter an OTP for security-relevant commands. For instance, whenever you are using the command npm profile set you will have to enter an OTP before you can change or set a value, like your fullname:
$npm profile set fullname Carolyn A. Wombat
Enter OTP: 567452
Set fullname to Carolyn A. Wombat
You should use `npm profile get' to confirm the new setting.
How you can add an OTP to a command
If you want to add the OTP to a command, you should append it as shown below:
npm owner add <user > --otp=123456
Recovery Codes
Once you set up two-factor authentication, a series of recovery codes appears on your screen. Please print and save them. Note: Some authenticator applications and password management applications provide you with a method for you to store recovery codes.
Tip: You should save recovery codes in a different location than the device you use to authenticate. For instance, if you get your OTP from a PC, don't save the codes in a case with your PC.
Here is an explanation of the recovery procedure.
How to Remove Two-Factor Authentication from your Profile
If you want to remove 2FA from your profile, you should type this command:
npm profile disable-2fa
You will be prompted by npm for your password:
>npm password:
You should enter your npm password as prompted, npm will then display:
>Enter one-time password from your authenticator: 123456
npm will then confirm:
Two factor authentication disabled.
How to Send an OTP Value from the Command Line
If you enabled 2FA auth-and-writes, you need to send the OTP from the command line for certain commands to work. To do this, you should append --otp=1237564 (where 1237564 is the code generated by your authenticator) at the end of the command. Here are some examples:
npm publish [<tarball>|<folder>][--tag <tag>] --otp=123756
npm owner add <user > --otp=123756
npm owner rm <user> --otp=123756
npm dist-tags add <pkg>@<version> [<tag>] --otp=123756
npm access edit [<package>) --otp=123756
npm unpublish [<@scope>/]<pkg>[@<version>] --otp=123756
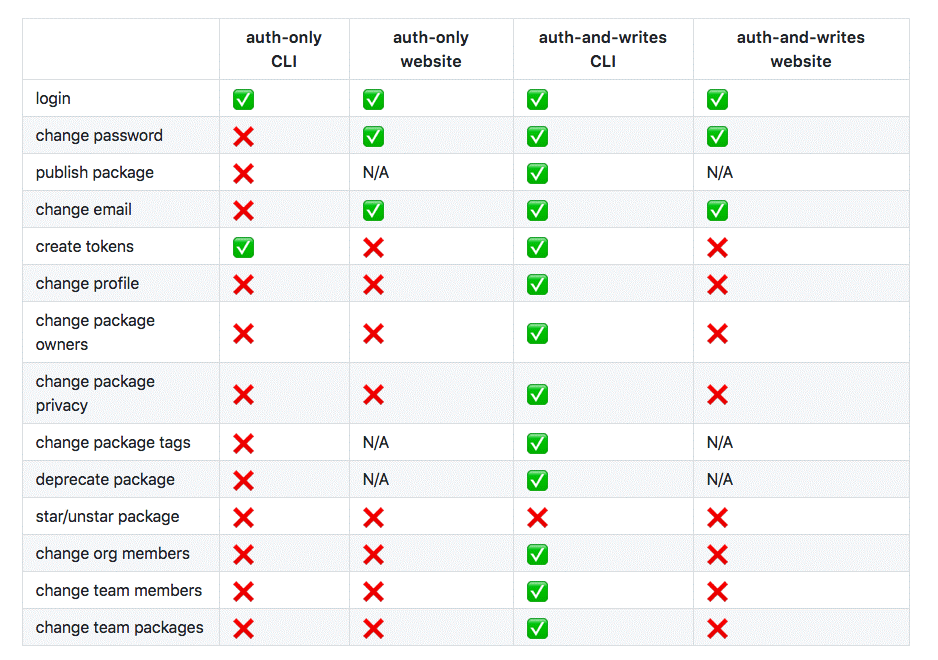
When Will npm Require the Second Factor?
If you have enabled 2-factor authorization, you need to enter the second factor at various points as you use npm. This table will explain these details
Troubleshooting
Error after entering a one-time password
If you are entering what looks to be a valid OTP but you see an error, you should ensure that you are using the correct authenticator account. In the screen shot below, the current account in Authy is set incorrectly because the developer has multiple npm test accounts. This will definitely cause the OTP to fail. Also, as stated earlier, once you reset 2fa after it has been disabled, the authenticator might go on to create a second account with the same name. Please read your authenticator documentation to delete the old account.

Misplaced second factor device
In the case where you cannot locate the device that provided second-factor authentication:
- You should find the recovery codes you saved when you enabled 2FA.
- If you are not logged in, login normally using your current login and npm password. When you are prompted for an OTP, you should enter a recovery code. (Note that this may create a second authenticator account with the same npm account name. Ensure that you use the newly created account.)
- After you are logged in, you should then type npm profile disable-2fa and enter your npm password once you are prompted.
- You should always enter an unused recovery code when you see this prompt:
- npm will confirm that two-factor authentication has been disabled.
- Finally, you should type npm profile enable-2fa to re-enable 2FA, add a different device to your account, and generate new set of recovery codes.
>Enter one-time password from your authenticator:
Misplaced recovery codes
In the case where you have misplaced both the device that provided second-factor authentication and your recovery codes you saved, npm might not be able to help you recover your account.
Previous:
How to use semantic versioning,work with scoped packages and label packages with dist-tags
Next:
How to Work with Security Tokens in npm.