Managing Organizations in Cypress: Complete Guide
In this tutorial we will be examining what organizations are and how to manage them.
An organization is used to group projects and manage the access to those projects.
Features
- Create projects
- Invite users
- Transfer projects
- Pay for the usage of all your projects
Organization ID
The ID of an organization is a unique identifier in UUID format that can be found under the “Organization settings” section of the Dashboard. Your Organization’s ID is used frequently by Cypress Support, Success and Sales teams to reference an Organization.
If you want to locate your Organization’s UUID, you will need to go to the “Organizations settings” then the Organization ID. You can click on the clipboard icon to copy the ID for easy sharing within your Cypress teams.
Managing Organizations
Create Org
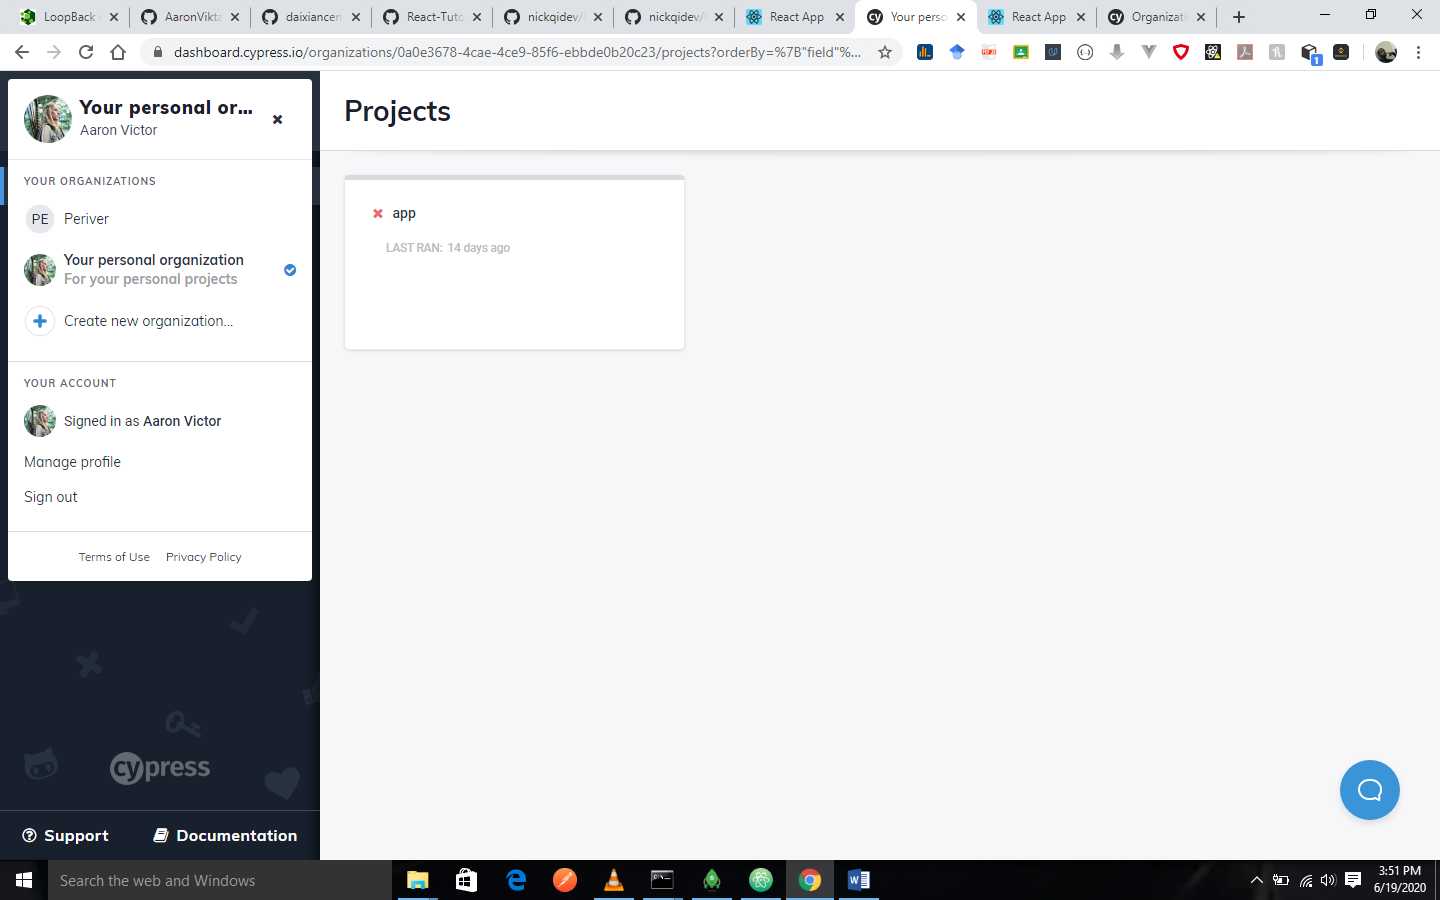
When you want to create an organization in Cypress, you will need to visit the Dashboard Service by opening the switching and clicking the organization switcher and then clicking on Create new organization.
When you do that you will be presented with a modal to add your organization.
Personal Org
By default, Cypress will provide you with a personal organization, this organization is named after you. you cannot delete it neither can you edit its name.
Convert to professional org
In the case where you have already set up some projects, users, and billing on your personal organization, you will be able to convert it to a professional organization via the Organization settings page.
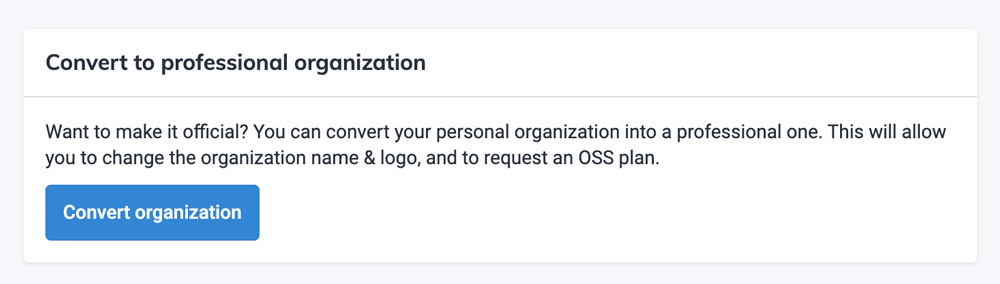
When you click on the Convert organization button, you will need to provide a name for the organization, and hit the Convert organization. There are two things this will do, namely:
- It upgrades your personal organization to a new organization. It will also carry over your projects, users and billing to the converted organization.
- Cypress will create a new, empty personal organization, so that you will always have a place to keep your side projects and experiments.
Delete Org
You will be able to delete an organization that you own as far as the organization has no project. To delete an organization that has a project, you will have to transfer the ownership of the project to a different organization.
Billing and Usage
Open Source Plan
In order to support the community, Cypress provides the Open Source (OOS) plan for public projects to take advantage of Cypress Dashboard Cypress. In order to qualify, you project must meet two criteria:
- Your project is a non-commercial entity
- Source code for your project is available in a public location with an OSI-approved license.
Requesting OSS plan for an org
Below, we will outline the process you need to follow to request for an OSS plan for your project.
- The first thing you need to do is to Login into the Cypress Dashboard, or you create an account if you are a new user.
- The next thing will be to go to the Organizations page that you want to associate an OSS plan. If you do not have an organization, you can create one by clicking the Add Organization button.
- Once you are in the organization, go to the Billing and Usage page, there you will need to click on apply for an open source plan link at the bottom of the page.
- Fill the forma and submit the OSS plan request form.
- A confirmation email will be sent to you. The Cypress team will then review your request and if they approve it, they will apply an OSS plan to your organization.
Integrations
Please check our tutorial on GitHub and Slack integration in Cypress.
Enterprise SSO
If you want it use the enterprise SSO, it is available as an add-on to any of Cypress’s paid pricing plan. The enterprise SSO can only be set up by the owner of an organization.
Enable SSO
- Log in to the Cypress Dashboard and then navigate to the Integration page of your organization.
- You will need to scroll down to the Enterprise SSO section. Then select your SSO provider and take note of the information that is provided and required. You should keep this window open, while you continue to the configuration instructions for your specific SSO provider below.
SSO Provider Configuration
You should follow the instructions below for your specific SSO provider.
- Okta
- SAML
- Azure AD
Okta
The Cypress Dashboard can integrate efficiently with Okta via SAML. More information can be found in the official documentation of Okta (https://developer.okta.com/docs/guides/saml-application-setup/overview/)
Here is a summary of how you can integrate Okta with Cypress:
- First thing you will need to log in to your Okta dashboard, and head over to the Admin section.
- Next, you will need to create a new SAML-based web application from the Okta’s dashboard.
- Then supply the information that is requested in the Okta setup wizard which includes:
- App name: Cypress application
- App logo: provide an image
- Single sign on URL: This is the URL that is provided in the Cypress Dashboard
- Audience URI: This is the URI that is provided in the Cypress Dashboard
- Attribute statements: Add the attribute statements that is described in the Cypress Dashboard
- Then you will need to select I am an Okta customer and click Finish
- Click on the view instructions button in the middle of the page. The Cypress Dashboard will need the information that is provided here:
- You should copy the Identity Provider Single sign-on URL to the Cypress Dashboard
- Then download the certificate and upload it to the Cypress Dashboard.
- You should navigate to the Assignments tab and grant your access to the Cypress Dashboard.
- You can now save and test the configuration
SAML
The Cypress Dashboard integrates well with your identity provider via SAML, you should refer to the official documentation of your provider’s official documentation to configure an SAML integration. Here is the process for integrating Cypress with SAML:
- You will need to log into the admin interface for your identity provider.
- Then, you will have to work through the setup wizard supplying the information requested:
- App name: Cypress Dashboard
- App logo: Cypress logo download
- Single sign on URL: Collect the URL that was provided by the Cypress Dashboard
- Audience URI: Collect the URI that was provided by the Cypress Dashboard
- Add a custom mapping of AttributeStatements with the following key:value pairs
- User.Email: User’s email
- User.FirstName: User’s first name
- User.LastName: User’s last name
- Collect the sign-on URL and certificate from the provider of your identity. Supply this information to the Cypress Dashboard.
- Save and test the configuration.
Azure AD
The Cypress Dashboard can integrate with your identity provider via the Azure AD. Please refer to Microsoft’s guide on how to configure an application for more information. Here is a summary of the steps to integrate Azure AD with Cypress.
- You should log into the Azure portal and create a new Application.
- Then work through the application setup, supplying the following information when they are requested:
- App name: Cypress Dashboard
- App logo: Cypress logo download
- Login URL: Collect the URL that is provided by the Cypress Dashboard
- Collect the Client ID for your application that is provided in the Application overview page.
- Go to Certificates and Secrets in your Azure Application and then create a new secret that does not expire. You should copy this newly-created secret and paste it in the Azure Client Secret field in the Cypress Dashboard.
- Then, you should head over to API Permissions in Azure AD, ensure that the application has access to User.Read permissions
- Enter the domain that is used for your Active Directory, as well as the list of SSO domains you wish to allow user to authenticate with, in the Cypress Dashboard. This will be used for SSO discovery from the login screen.
- Save and test the configuration.
Save and Test
Now you can return to the Cypress Dashboard and click Save and test configuration. The Cypress Dashboard will then attempt to authenticate.