Compiling, running and debugging Java programs
Creating First Program using Eclipse IDE
Eclipse IDE is an open-source product that was originally created with a substantial code donation by IBM to the Java community, and from that moment Eclipse was a 100% community-driven product. It started as an IDE for developing Java programs but now it has different flavors for various programming languages like PHP, Spring, Scala etc.
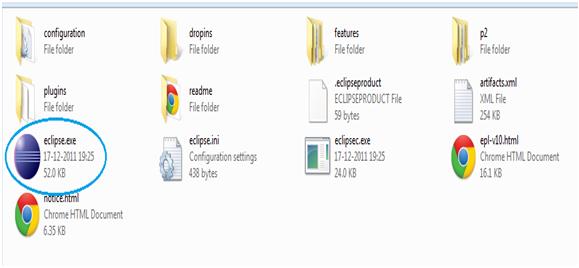
In an earlier tutorial we have seen how to download eclipse. After unzipping eclipse, you can see something like Figure referred below folder structure. Where blue circled exe file is starting point. Double click on eclipse.exe (you can create a desktop shortcut as well).
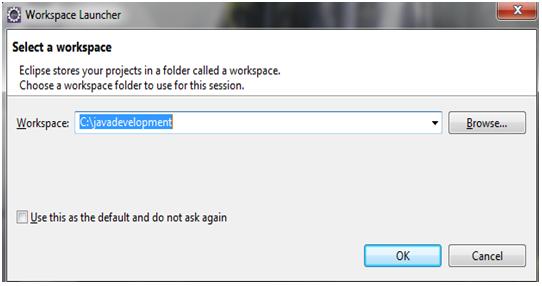
The new dialog box in Figure below will open to create or open workspace (Workspace is the folder/Directory where all java projects will reside). We will use “C:\javadevelopment” directory for workspace. After selecting workspace click ok and you can see welcome page of eclipse which you can close it by clicking on “X”.
The Figure below is a snapshot of the freshly installed IDE with an empty workspace.
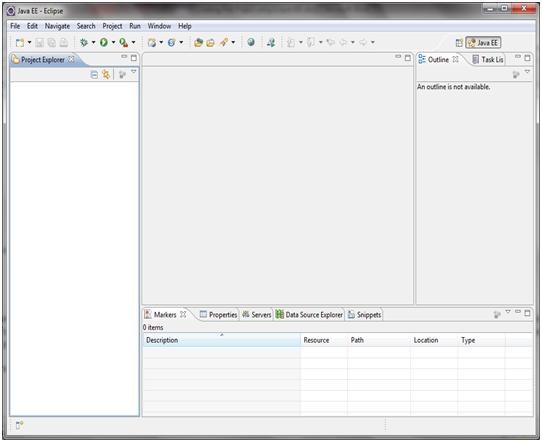
To be precise, you are looking at Java EE perspective (note the Java EE tab at the top), which is a collection of views. On the left, you see a Project Explorer view. The area in the middle is reserved for the code editor view — you start using it as soon as you create your first Java class. The Outline view is on the right — you’ll see the names of your classes, methods, and variables (see Lesson 3) there when they are available.
There are many other views that you can open and close by yourself by selecting Window ➪ Show View. These include Console, Search, Servers and others.
Let’s start with creating first java project called HelloWorldProject
Step 1: Select File --> New --> Java Project and enter HelloWorldProject as the name of the project in the pop-up window, as shown in Figure below.
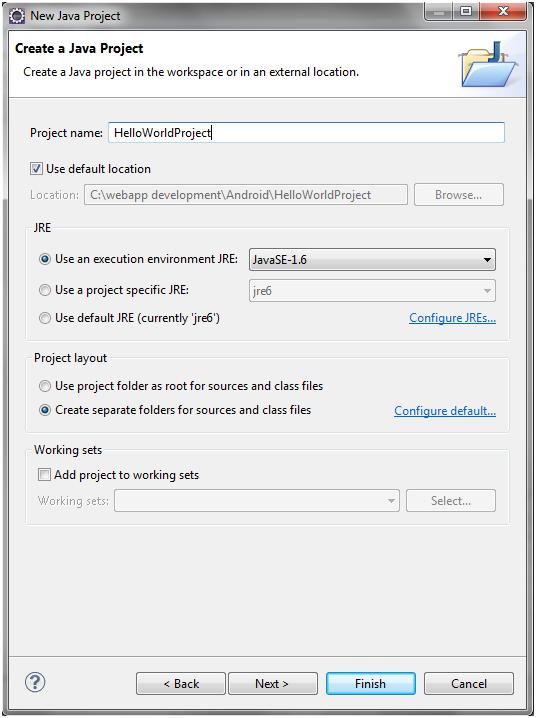
You can select the version of the JRE you want to work with. Eclipse can compile the code with any of the installed JRE version selected by you.
Click on Next>You will be asked to choose a folder to keep compiled classes (referred in Figure below). We will continue with default selection and click on finish.
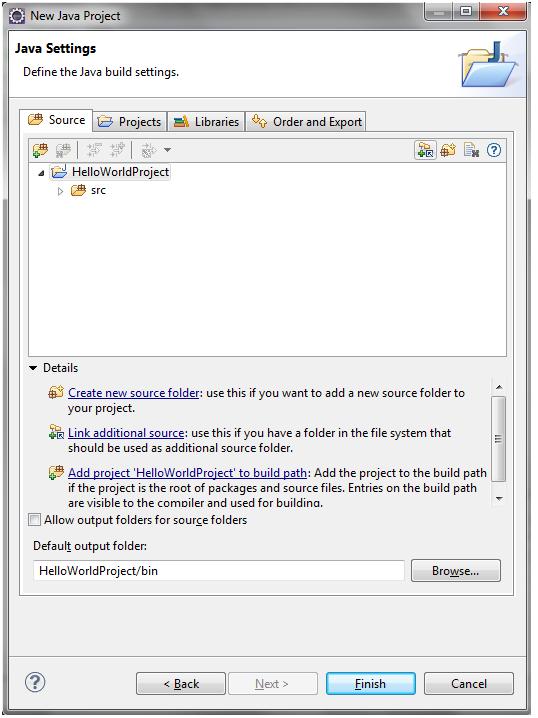
This project has an empty folder, src — you can save the source code of HelloWorld.java there when ready. The JRE folder contains all required libraries supporting the JVM where HelloWorld will run. (referred in Figure below)

Step 2: Create “HelloWorld” Java program inside sct package (You can decide package name or class name as per your choice)
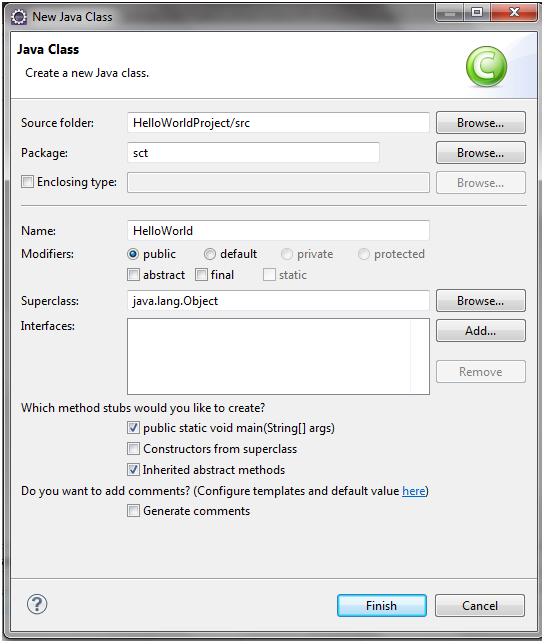
Select File > New > Class and enter HelloWorld in the Name field and sct in Package field as shown in the Figure referred below. Also select check-box for the main method, which will create the main method automatically after clicking finish button.
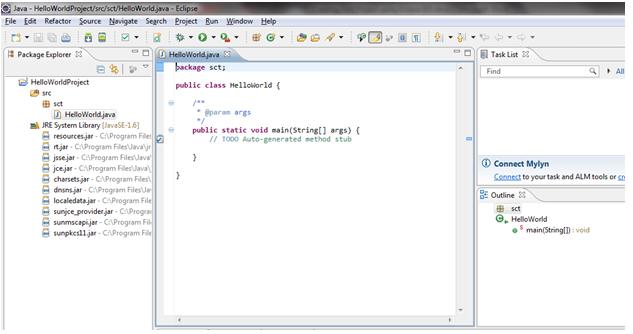
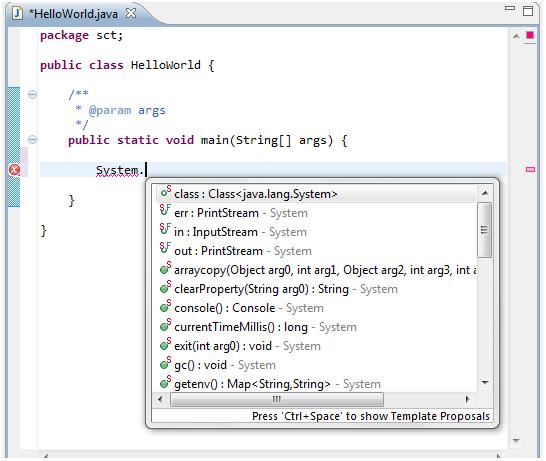
Now you will be able to see the screen like the figure below. Where you can copy-paste our HelloWorld class content or just one line inside main() method. If you try to write the statement IDE will help you with options available, as shown just in the below Figure. This way we can reduce programming syntax error.
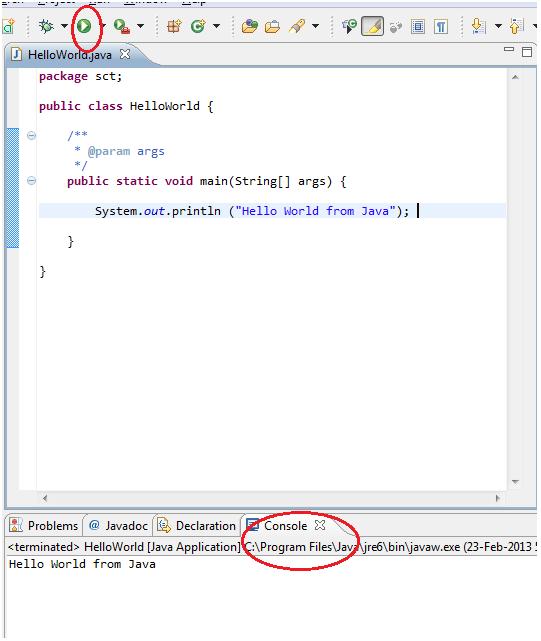
System.out.println ("Hello World from Java");
Once we complete writing our code we can save the file by pressing the little diskette image on the toolbar or using the Ctrl+S key combination. By default, saving the code results in an invocation of the compiler. If you did n’t make any syntax errors, Eclipse will create HelloWorld.class in the bin directory of the HelloWorldProject. If any compilation error It will be shown as red underline and red cross mark as shown in Figure mentioned above.
Step 3: Running Java program:
Now you can run the program by pressing the round green button on the toolbar. The output of the program will be shown in the Console view panel in the lower part of Eclipse IDE, as shown in figure referred below.
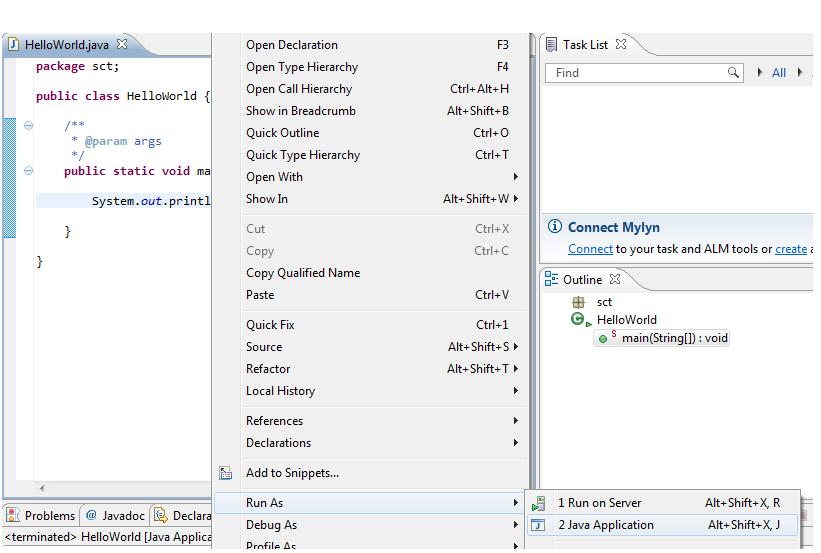
Another way to run java program: right click on blank space of editor and menu will open which has the option of run program as shown in Figure below.
Summary
- Java development needed JDK installation, while JRE will be used for running Java program.
- Java program can be written using a plain text editor and compiled using command window but IDE (Integration Development Environment) will provide better and faster way for development.
- Running java program is 3 step process : creating java source file, compiling java file, and running java program using java command.
Previous: Download and Install JDK, Eclipse (IDE)
Next: Class, methods, instance variables